
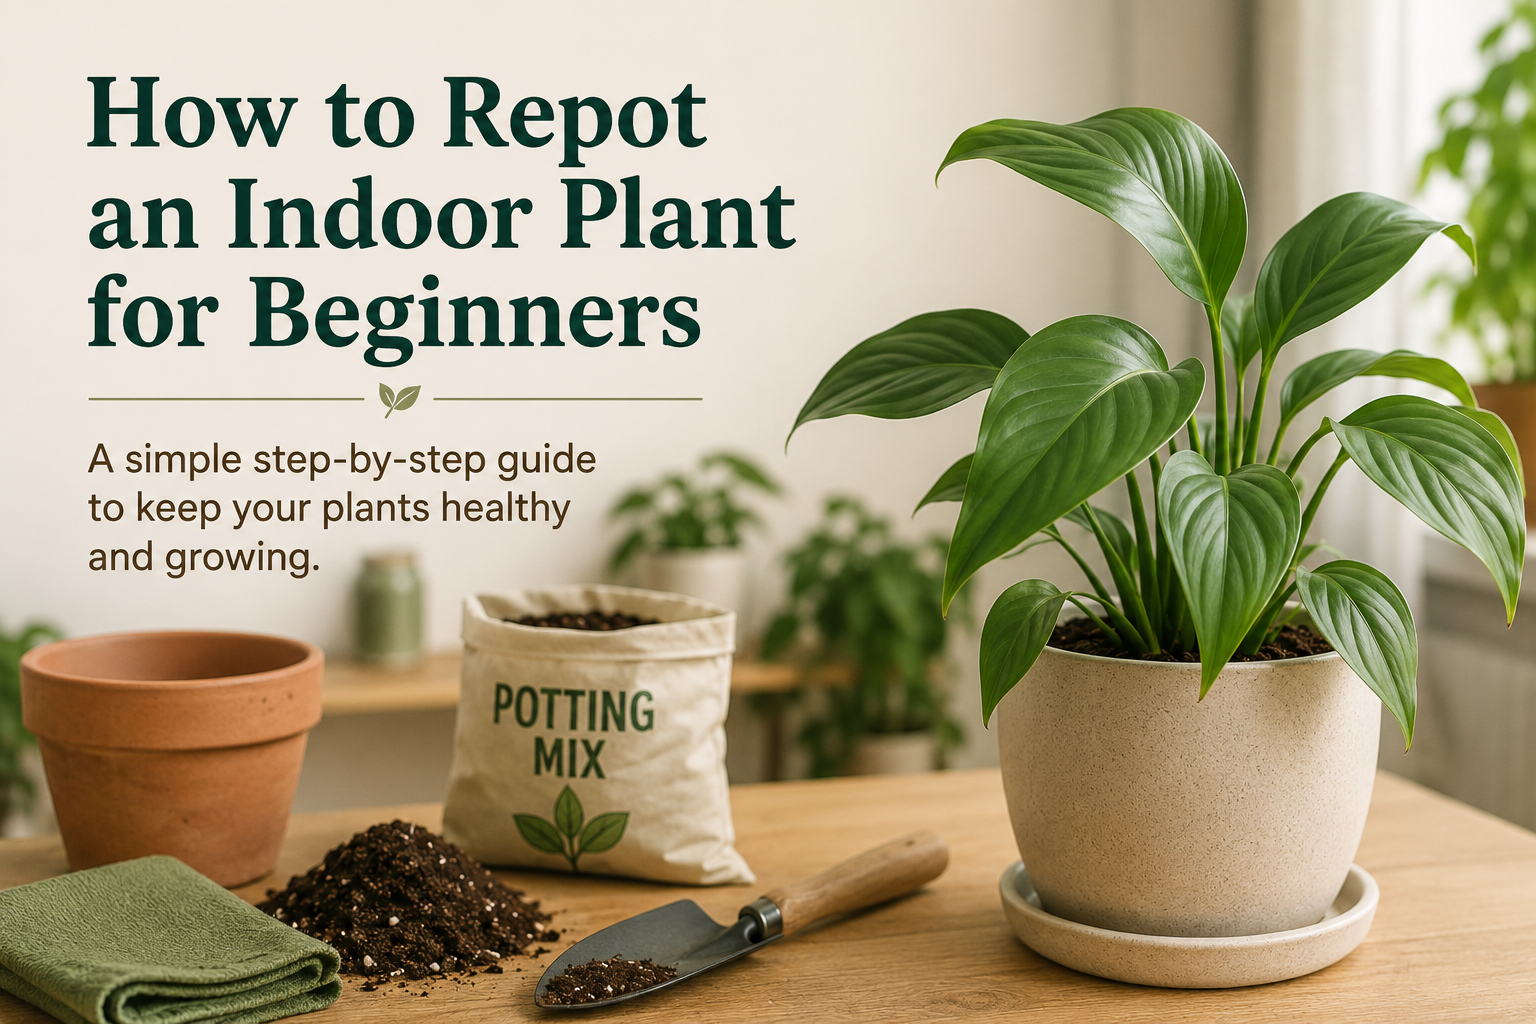
Repotting can be useful when an indoor plant has outgrown its container, its roots are crowded, or the potting mix has become compacted, degraded, or unsuitable. Learning how to repot an indoor plant helps you respond to those signs without treating repotting as a fixed-calendar chore. The basic process involves removing the plant carefully, checking the roots and mix, and placing it in a suitable container. Not every plant needs a larger pot or fresh mix at the same interval, and disturbing healthy roots unnecessarily can cause stress. Before starting, consider the plant’s growth rate, root condition, drainage, and soil. Repot because the plant shows a clear reason to repot, not simply because a calendar says it is time.
Table of Contents
- Why Repot Indoor Plants?
- Signs Your Indoor Plant Needs Repotting
- When to Repot Indoor Plants
- Materials Needed for Repotting
- Step-by-Step Guide to Repotting
- Step 1: Choosing the Right Pot
- Step 2: Preparing the Plant
- Step 3: Removing the Plant from Old Pot
- Step 4: Preparing the New Pot
- Step 5: Placing the Plant and Soil
- Step 6: Watering After Repotting
- Aftercare and Maintenance
- Common Mistakes to Avoid
- Frequently Asked Questions
- How often should I repot my indoor plants?
- What type of soil should I use when repotting?
- Should I water my plant immediately after repotting?
Why Repot Indoor Plants?
Repotting is useful when the current pot or potting mix no longer suits the plant. Crowded roots may circle the container, push through drainage holes, or leave too little mix to hold the amount of water the species needs. Potting mix can also compact or break down over time, reducing useful air spaces and changing how water moves through the pot.
It may also be appropriate when the container drains poorly, the mix is unsuitable, or damaged roots need to be inspected. Repotting itself is not a universal way to prevent root rot, however. A healthy plant in a suitable container and mix does not need to be disturbed simply as a precaution. Look for a specific root, soil, drainage, or growth-related reason before taking action.
Signs Your Indoor Plant Needs Repotting
Look for roots growing through drainage holes, circling tightly inside the pot, or lifting the plant above the soil line. Water may run straight through a root-filled pot, or the mix may dry much faster than normal. Compacted mix that drains poorly or no longer rewets evenly can also justify repotting.
Slow growth, yellowing, and wilting have many possible causes, so they do not prove repotting is needed. Check the roots, mix, and drainage first. Some plants prefer a snug container and do not need a larger pot just because a few roots are visible.
The Indoor Plant Care Guide for Beginners: Everything You Need to Know explains how light and watering can cause similar symptoms. Rule out simpler care issues before disturbing the roots.
When to Repot Indoor Plants
Base the decision on the plant’s growth rate, roots, potting mix, and signs that the current setup is unsuitable. Fast growers may need attention sooner than slow-growing species. Any general time range is only a rough reminder to inspect the plant, not a rule.
Active growth can make recovery easier for many plants, but indoor conditions vary and some houseplants have no strong seasonal dormancy. Plant condition matters more than a rigid calendar. Address an urgent root or drainage problem when needed; for a stable plant, choose a time when it is not already stressed by another major change.
Materials Needed for Repotting
Gather a clean pot with open drainage holes, species-appropriate potting mix, and a scoop or trowel. Choose a larger pot only when the roots need more space; the same size may suit a mix replacement or root inspection. Gloves, clean tools for clearly damaged roots, mesh for a very large drainage hole, and a watering can may also be useful.
Step-by-Step Guide to Repotting
Repotting is a straightforward process that helps your indoor plant continue to grow comfortably. With a few simple steps, you can move your plant to a new pot, providing fresh soil and more space for the roots. This guide walks through each stage, making it easier to care for your plant without stress.
Step 1: Choosing the Right Pot
Choose a pot that matches the reason for repotting. Moving up by about 1 to 2 inches in diameter is a common starting point for many small or medium houseplants, not a universal rule. A plant with root damage may need the same size or a smaller container after unhealthy roots are removed. Avoid oversized pots because unused mix can stay wet longer. Make sure the container drains freely. Terra-cotta often dries faster than plastic or glazed pots, so consider the plant and your indoor conditions.
Step 2: Preparing the Plant
Check the plant and current soil moisture first. A lightly moist root ball may be easier to remove, but soaking the mix may not suit every species. Inspect for pests or disease. Removing a fully dead or yellow leaf is optional; avoid combining repotting with unnecessary pruning or several stressful changes.
Step 3: Removing the Plant from Old Pot
Turn the pot on its side, support the plant near its base, and tap or squeeze the container to release the root ball. Loosen soil around the edge rather than pulling the stems. Examine the roots and mix. Do not tear apart healthy roots; gently loosen only tightly circling or compacted roots when needed. Remove clearly dead or rotting roots only when appropriate, using clean tools. Seek plant-specific guidance for extensive damage or uncertain disease.
Step 4: Preparing the New Pot
Add enough fresh mix to hold the plant at the correct height. Do not add gravel or stones as a drainage layer. If a large hole lets mix escape, cover it with a small piece of mesh without blocking drainage. Use a mix suited to the species.
Step 5: Placing the Plant and Soil
Position the plant in the center of the new pot at a similar depth to before, leaving enough space below the pot rim for comfortable watering. Fill in around the roots with potting soil, gently pressing down to eliminate air pockets but avoiding compacting it too much. The soil surface should be level and firm enough to support the plant upright.
Step 6: Watering After Repotting
Consider the species, root condition, and moisture in the new mix. For many common tropical houseplants, watering may be appropriate when the mix is dry or only slightly moist; let excess water drain fully. Immediate watering is not a universal rule. Plants with damaged roots, moisture-sensitive species, and cactus- or succulent-type plants may need different aftercare. The How Often Should You Water Indoor Plants? A Beginner’s Guide explains how to check moisture instead of using a fixed schedule.
Aftercare and Maintenance
Return the plant to suitable conditions and avoid abrupt light or temperature changes. Check moisture according to the species and mix, not a fixed delay or universal top-inch rule. Watering may suit healthy roots in dry mix, while damaged roots or dry-preferring species may need another approach. Watch for persistent wilting, worsening discoloration, or signs that the potting mix is staying excessively wet. Mild drooping can follow root disturbance, but continued decline needs closer inspection.
Common Mistakes to Avoid
Common mistakes include choosing a much larger pot, blocking drainage, adding a stone layer, using an unsuitable mix, or tearing apart healthy roots. Fixed watering rules also cause trouble: neither “always water immediately” nor “always wait several days” fits every plant. Base aftercare on the species, root condition, and existing moisture. Do not repot a stable plant only because a calendar date has arrived.
Frequently Asked Questions
How often should I repot my indoor plants?
Repot based mainly on the plant’s growth rate, root condition, potting mix, and clear signs that a change is needed. A time range can be a rough reminder to inspect the plant, but it should not be treated as a schedule. Some fast growers need attention sooner, while slow-growing or snug-rooted plants may stay in the same pot much longer.
What type of soil should I use when repotting?
Use a potting mix designed for the plant’s needs. Some tropical foliage plants prefer a mix that balances moisture retention with air spaces, while cacti and succulents generally need a faster-drying mix. Ordinary garden soil is usually too dense for containers and may introduce pests or pathogens. Check reliable care guidance for the species rather than assuming one mix suits every houseplant.
Should I water my plant immediately after repotting?
It depends on the species, root condition, and moisture in the new potting mix. For many common tropical houseplants with healthy roots, watering may be appropriate if the new mix is dry or only slightly moist; allow excess water to drain fully. Do not make immediate watering or waiting a week a universal rule. Plants with damaged roots and cactus- or succulent-type plants may need different treatment.