
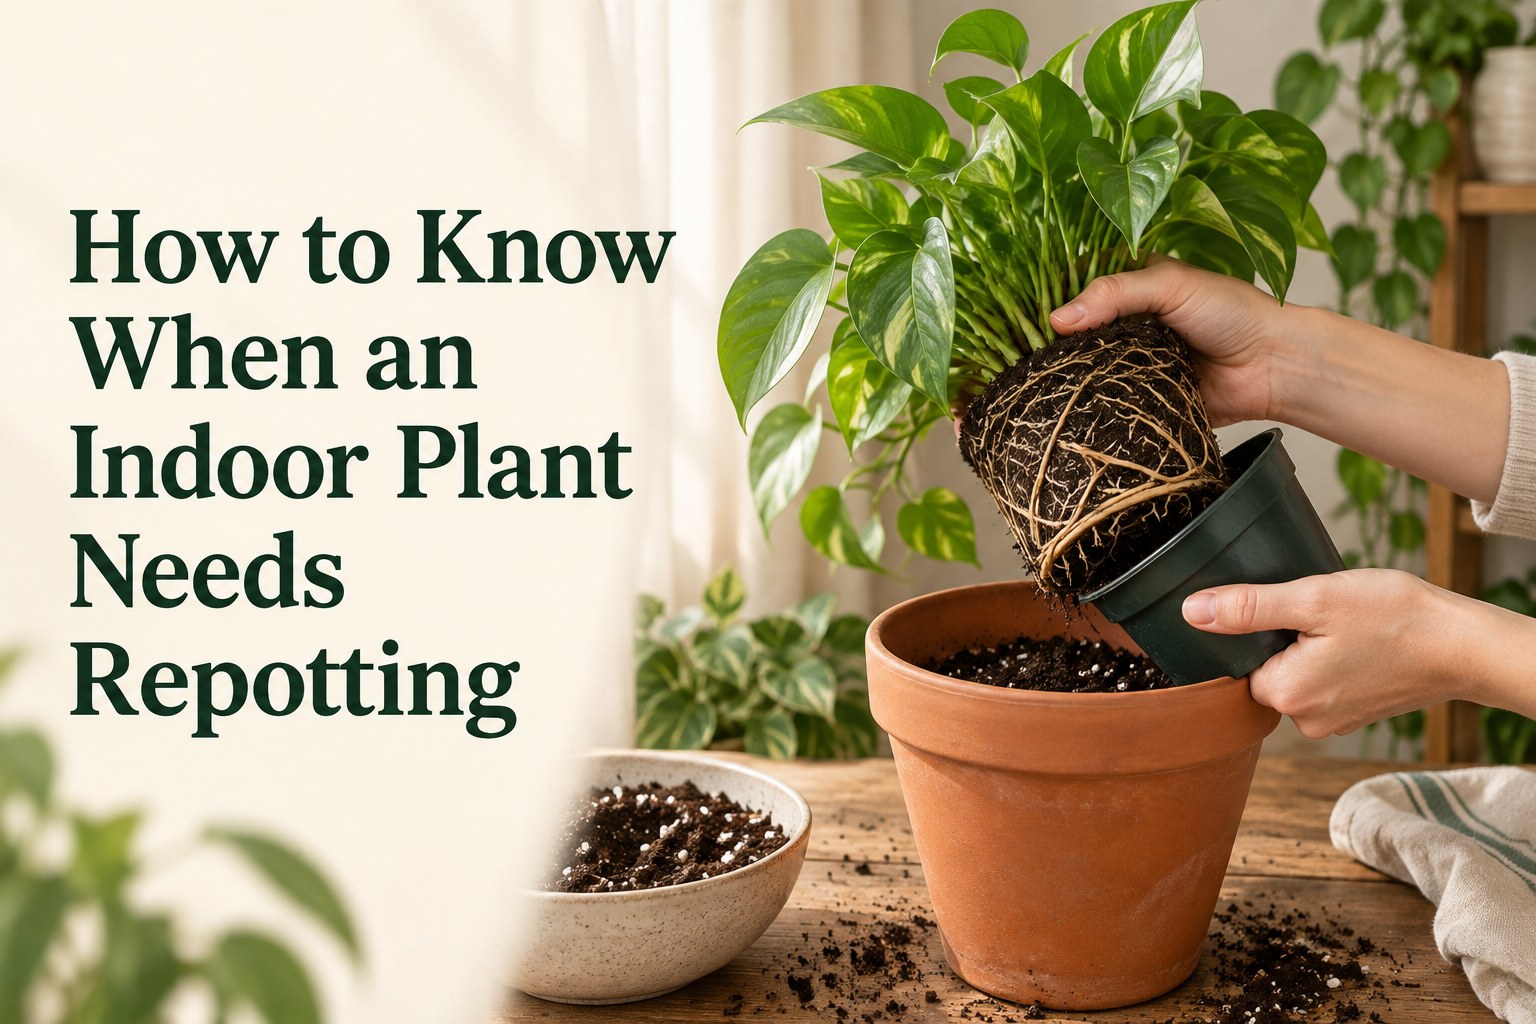
Knowing when your indoor plant needs repotting can make a big difference in its growth and overall well-being. Possible signs include roots emerging from drainage holes, unusually rapid drying, or a plant becoming unstable in its container. These clues are worth checking alongside the root system and overall care; they do not automatically mean the plant needs a larger pot. Recognizing these cues early helps ensure your plant continues to thrive in its indoor environment without stress or nutrient deficiencies.
Table of Contents
- Signs Your Indoor Plant Needs Repotting
- Benefits of Repotting Your Indoor Plant
- How to Repot an Indoor Plant
- Preparing Your Plant and Supplies
- Step-by-Step Repotting Instructions
- Aftercare Tips for Newly Repotted Plants
- Frequently Asked Questions
- How can I tell if my indoor plant’s roots need more space?
- What size pot should I choose when repotting my indoor plant?
- How soon can I water my plant after repotting?
Signs Your Indoor Plant Needs Repotting
Recognizing when an indoor plant needs repotting is key to maintaining its overall health. Repotting allows roots more space to grow and refreshes the soil nutrients. Signs that repotting may be worth considering include roots densely filling the container, roots emerging from drainage holes together with other signs of crowding, unusually rapid drying, water running through the pot very quickly, reduced growth despite otherwise suitable care, or a plant becoming unstable. No single sign automatically means a larger pot is required; inspect the root system and growing conditions together. If you’re just starting with houseplants, you might find the Indoor Plant Care Guide for Beginners: Everything You Need to Know helpful to build your confidence in plant maintenance.
Benefits of Repotting Your Indoor Plant
Repotting brings several advantages that support your plant’s growth and overall wellbeing. It refreshes the soil, giving roots better access to nutrients and space to spread. Over time, soil in a pot can become compacted or depleted, limiting how well water and nutrients reach roots. By transferring your plant to a new container with fresh soil, you help it absorb what it needs more effectively.
Additionally, repotting helps prevent root-bound conditions, which happen when roots circle tightly inside an undersized pot. A densely root-bound plant may have limited space for new root growth and less potting mix available to hold water and nutrients. If the roots truly need more room, a moderately larger container may support continued growth.
Another benefit is improved drainage and aeration. Many indoor pots collect salt deposits or develop poor airflow in old soil, which can stress your plant. Fresh, well-draining mix allows excess water to flow away and air to circulate, reducing root rot and other issues.
Ultimately, timely repotting can extend your plant’s life and improve its appearance. When you notice your indoor plant needs repotting and act accordingly, you create conditions for stronger roots, better nutrient uptake, and a more vigorous plant overall.
How to Repot an Indoor Plant
Repotting can breathe new life into your indoor greenery, providing fresh soil and room for roots to grow. Knowing how to repot your plant carefully helps avoid shock and promotes steady growth. Gather all you need before starting and handle your plant with gentle care throughout the process.
Preparing Your Plant and Supplies
If the plant genuinely needs a larger container, choose one only moderately larger than the existing root ball. The appropriate increase depends on the plant, root system, and current container size. Choose a container with drainage holes so excess water can escape. Next, select a potting mix appropriate for your plant type—cacti and succulents need gritty, fast-draining soil, whereas tropical plants prefer moisture-retaining blends. A slightly moist root ball can sometimes be easier to remove and handle, but the ideal timing depends on the plant and potting mix. Prepare a clean workspace covered with newspaper or cloth to keep things tidy. Gather tools like gloves, a small trowel or spoon, and pruning shears in case root trimming is needed. Remember, sterile tools reduce the risk of introducing pests or diseases. Having all the supplies ready will make the process smoother and less stressful for you and your plant.
Step-by-Step Repotting Instructions
Begin by gently loosening your plant from its current pot. You can tap the sides and bottom or carefully slide a blunt knife around the edge. Support the base of the plant while lifting it out to protect delicate stems and leaves. If roots are densely packed or circling the pot, tease them apart using your fingers. Trim roots that are clearly dead, mushy, badly damaged, or rotting with clean tools. Healthy roots usually do not need heavy pruning. Place a layer of fresh potting mix into the bottom of the new pot, allowing space for the root ball. Position your plant so that it sits at the same soil level as before—too deep or too shallow can cause problems. Fill around the roots with soil, gently firming it to eliminate air pockets but not compacting too tightly. Watering after repotting depends on the plant and the condition of its roots. Many common foliage plants can be watered after repotting to settle the mix, while plants sensitive to excess moisture or with damaged roots may require a different approach. For guidance on watering post-repotting, see How Often Should You Water Indoor Plants? A Beginner’s Guide.
Aftercare Tips for Newly Repotted Plants
Keep the plant in stable, species-appropriate light after repotting and avoid sudden exposure to harsher conditions while it adjusts. Avoid fertilizing immediately unless the plant, potting mix, and fertilizer instructions indicate otherwise. Some fresh mixes already contain fertilizer, so check the product label before feeding. Monitor moisture according to the needs of the species rather than keeping every newly repotted plant continuously moist. Check regularly for signs of stress, like drooping or yellowing leaves, which may indicate overwatering or root trauma. Resist moving or repotting again too soon; give your plant time to acclimate to its new home. With consistent, gentle care after repotting, your leafy companion will resume steady growth and thrive.
Frequently Asked Questions
How can I tell if my indoor plant’s roots need more space?
Roots emerging from drainage holes can be one sign that the container is becoming crowded, especially when combined with rapid drying, dense circling roots, or little available potting mix. Inspect the root ball and the plant’s overall condition before deciding whether a larger pot is needed.
What size pot should I choose when repotting my indoor plant?
If the roots genuinely need more room, choose a pot only moderately larger than the root ball. The right increase depends on the plant and current container; a much larger volume of mix may stay wet longer.
How soon can I water my plant after repotting?
Watering after repotting depends on the plant and root condition. Many common foliage plants can be watered to settle the mix, while moisture-sensitive plants or those with damaged roots may need a different approach. Before watering again, check moisture at a depth appropriate for the species and root zone rather than relying on a fixed one-inch rule.